Curt's Fallschirmjagers consisted of 2 platoons of Fallschirmjager infantry, mortars, and Pak 40s. In support were a platoon of Grenadiers and 2 Tigers.
The scenario we diced for was Fighting Withdrawal, in which the defender must hold the attacking force from taking any one of three objectives while taking platoons off the table for 8 TURNS - gah! Curt decided to take the offense, and so I began to set up my force (this turned out to be a smart move, especially since I had 3 more platoons to spare than Curt did, which meant the 'strategic withdrawal' mechanic would put us on a more even footing by mid-game).
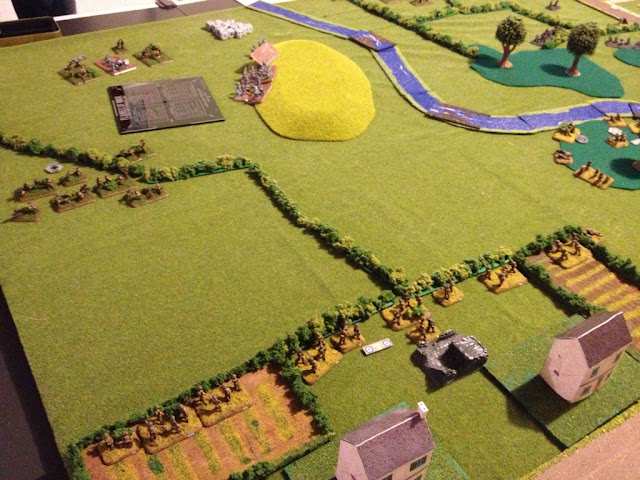
British deployment.
German deployment.
The Game
With my whole force dug in and gone to ground, it's safe to say that I didn't do a whole lot in any of my movement phases. Curt, on the other hand, had his Germans dancing back and forth across the table.
By the end of the game, I had forced Curt's infantry to fall back, but not before managing to pull the objective off the table, denying Curt the chance to grab it even if he had forced his way through.
It was on my right that the tigers managed to tear my armor apart, especially with their ability to re-roll misses. If I had Trained armor instead of Veteran, chances are the Tigers would have gone through them a whole lot faster, and then chewed through my infantry, who's only AT asset was the PIAT gun. The infantry, with support from the platoon in the woods and the MGs, managed to hold back Curt's advancing paratroops. My scout carriers were targeted by the Tigers early in the game, and spent most of their time on the table bailed out. They were the first to go when I had to start withdrawing.
With a platoon of my infantry chasing after Fallschirmjager company commander, and with enough platoons gone to force a moral check, Curt decided to have the rest of his company fall back, giving me the win. He did manage to give me a bloody nose, and with three of my platoons gone it was a 4-3 game.
A big thanks to Curt for the game. Now to finish up his last Fallschirmjager platoon. We'll play a game with fully painted forces yet, mark my words!


No comments:
Post a Comment