Wednesday, March 29, 2017

Irregularities - Muskets & Tomahawks AAR

With both the British and French forces painted for Muskets & Tomahawks, Carl and I finally got together for a game. We were using two forces at a little over 200 points each, which were fairly equal in abilities. 

French Wilderness Force (Carl)
Canadian Officer
Canadian Militia x8
Canadian Militia x8
-Coureur de Bois
French-allied Indians x6

British Wilderness Force (Brian)
Colonial Officer
-Ranger
Rangers x8
-Marksmen
Rangers x8
British-allied Indians x6


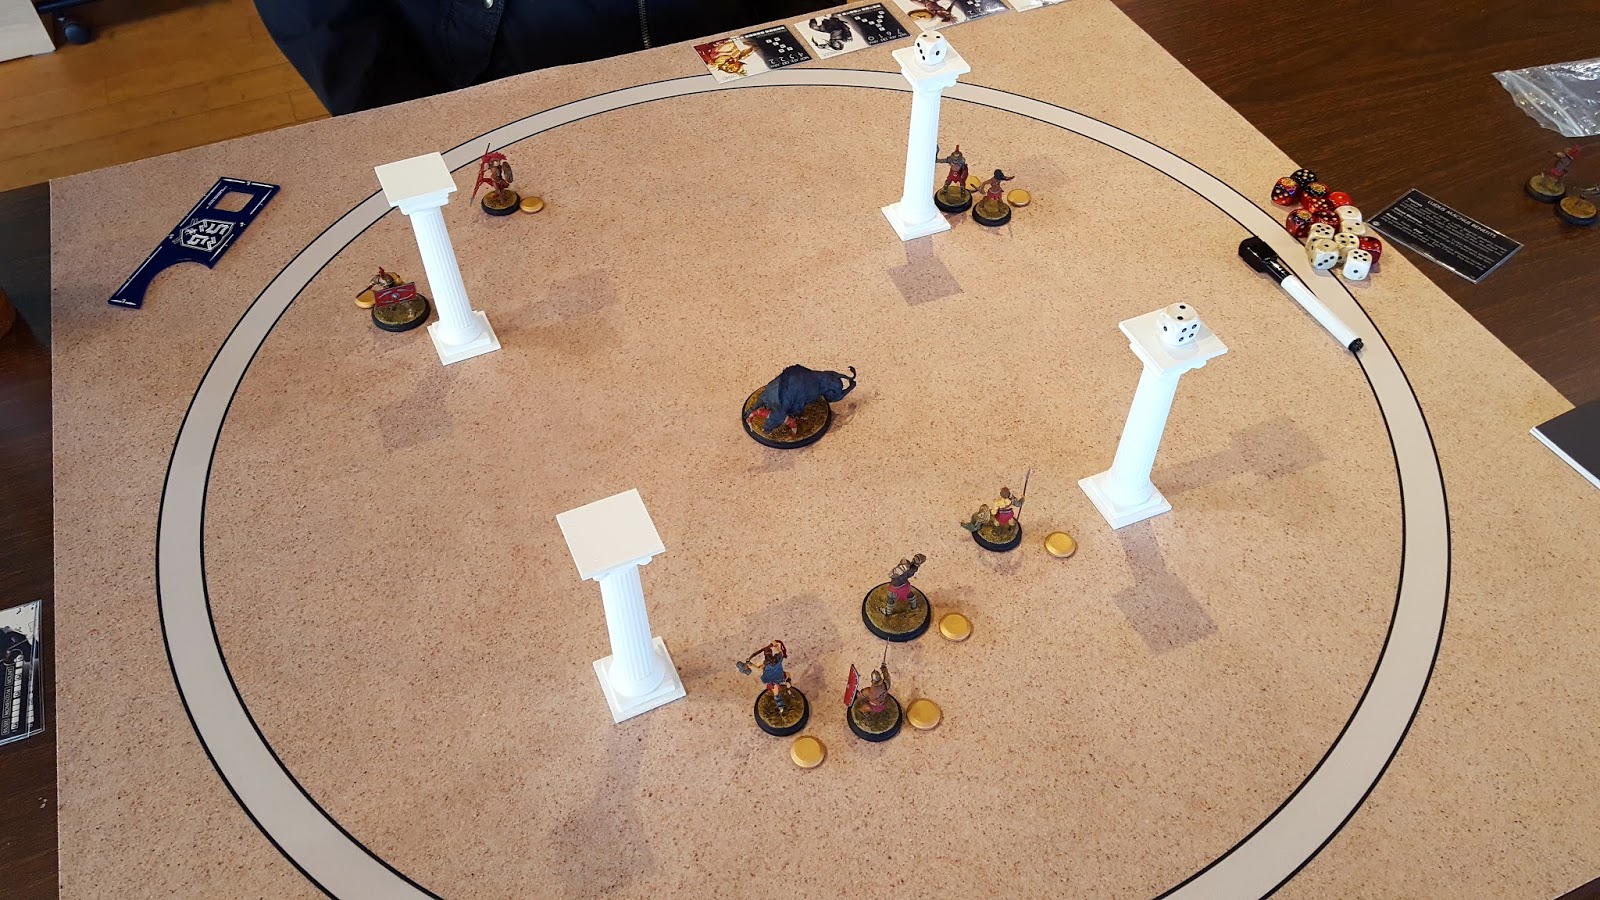
We rolled for the buildings, with one going in the center and Carl placing another nearby (it does look like I placed the "center" building a little too close to one side of the table). The rest of the table was covered with scattered woods for dense terrain. For simplicity's sake, we both went for the Engagement objective (so we would need to kill sixteen models from the other side to win), with no events or side plots.

With each unit having the Scout rules, the game began with hidden deployment markers on the table, with both sides having two dummy markers as well.


One of my ranger units was the first to be revealed, hoping that the enemy wouldn't reveal themselves too soon.


That bet didn't pay off, with Carl revealing his militia in the dense cover with a volley of musket fire. Three of my rangers fell, and the unit recoiled.


The French woodsmen moved into one of the abandoned cabins, spotting and revealing my second ranger unit.


The rangers advanced, with one unit approaching the cabin for a point blank shot.


Carl's Indian allies managed to get close enough to spot the British-allied Indians. Another Indian card allowed them to shoot, killing two and recoiling the unit.


Luckily, my rangers were up next, and the one unit fired a point-blank shot into the Coureur de Bois in the cabin, killing three and recoiling the unit.


Both sides were in the fight, with only the Canadian officer still hidden.


My rangers fired a volley at the French Indians, forcing them back with a single casualty.


The Canadian miltia shifted to their left and fired with two cards, sending my rangers into flight.


The rangers managed to rally, turning and firing at the Coureur de Bois who were trying to sneak up the side of the cabins.


At this point, it looked grim for the Canadians. They had one unit of militia still intact, but their Indians had almost fled off the table and the Coureur de Bois were down to two men.


Suddenly, the tables turned on the British. Their Indian allies were routed from the table, and the Canadian militia wheel and turned to face the suddenly outflanked rangers.


Well, things had turned very bloody very quickly. The Canadian militia killed two of the rangers, and further shots from the Coureur de Bois and Indians sent the unit fleeing across the table. Meanwhile, the other rangers managed to land a devastating volley on the Canadian Militia, wiping out half the unit with a little assistance from the ranger officer. A return shot sent the rangers fleeing, however.

At this point, the British had reached their break point, and the morale card was added to the deck.


The two sides managed to rally again, approaching for another round of combat.


More rangers and militia fell on both sides, putting the French and British over the goal for the scenario in the same turn. Counting up casualties, Carl had managed to score eighteen to my sixteen, giving the French a very bloody victory.

We enjoyed the game, and I'm hoping to get it to the table a little more often, hopefully with more of the period-flavor aspects, like canoes, events and side plots.

Wednesday, March 22, 2017

Wood and Iron - Warmaster Revolution AAR

Although I had only played a single game of Warmaster last year, I've had a lot of interest in getting the game to the table again (with the arguably better version that is Warmaster Revolution). So, when I found out that Shawn, who had taken part in the local Blood Bowl League, also had some High Elves in 10mm, we set up a time for a game. 


The tabled featured some woods, hills, broken ground, and impassible terrain.


We played a 1000 point game with the following lists:

High Elves
General
-Giant Eagle
-Sword of Cleaving
Hero
-Sword of Might
Wizard
-Wand of Power
Spearmen x3
Archers x2
Silver Helms
Chariots
Elven Bolt Thrower

Empire
General
Hero
-Sword of Might
Wizard
Halberdiers x4
Crossbowmen x2
Skirmishers x2
Knights x2
Pistoliers
Cannons

Shawn had his fantastically painted GW miniatures, while I was using tokens from A League of Ordinary Gamers.


Shawn won initiative. The first turns were spent by both sides trying to push their brigades forward.


Shawn continued to push his units forward. A single round of shooting from a unit of Elven archers and the bolt thrower was enough to push my Pistoliers off the table, and they fled. That'll teach me to run my units too close to the table edge.

I moved the brigade of two Halberdier units with attached skirmishers into the woods, with the the knights to their left.


Our two cavalry wings were the first to reach each other. Shawn took the risk and sent in his chariots, impacting against one of my Knight units. After a back and forth, both sides were reduced to a single stand.


The accuracy of the Elven archers was enough to disrupt the combined Crossbowman/Halberdier brigade. However, I managed to counter with a charge from the remaining Knight stand, killing his last Chariot.


Now the infantry were getting into the fight, as Shawn launched his Spearmen brigade into the woods, devastating one of the Halberdier units.

He brought in his knights in an attempt to remove one of my Knight units. But a lucky roll saw a tie in the combat, and my knights retreated out of the danger.


Continuing with his infantry attack, Shawn removed the unit of Halberdiers from the forest, and his bolt throwers slaughtered my cannons.


With the High Elf army at two units lost, and the Empire army at three units lost, both sides were only two unit away from breaking. However, poor dice on the part of the High Elves, and some very hot dice from the Empire, saw the combat in the woods break for the humans. With an additional unit lost from a Halberdier charge into a weakened archer unit, the game ended with an Empire victory.

It was a fun game, and really came down to a single turn. If I hadn't had some pretty lucky dice rolls, Shawn's elves would have rolled right through my lines. Hopefully we'll get more Warmaster on the table in the future, and this does lend some motivation for me to work on my Dogs of War.

Wednesday, March 15, 2017

Bull$%^&! - Arena Rex AAR

With a mind to keep moving on my 6x6 challenge, I offered to run some games of Arena Rex for the group. While I didn't get a chance to record one game (as I was too busy teaching the rules), Gary had played once before. 


The arena was fairly simple in it's layout - four pillars, with Nero in the center as a living hazard. On a side note, I need to make/print some pits to help hem in some of the combat that tends to drift off to the side if there's a living hazard in the center of the table.


Gary's cohort consisted of Hermes, Septimus, Infelix, and Otho. Opposing them were Lupa, Urbicus, Otho, and Marcus. Gary started with initiative.


While Gary's cohort split into two groups, mine went straight into the center of the arena. Both side allowed fatigue to accumulate early to enter a clear turn and make use of the Ludus Magnus Rouse tactic. In my clear turn, I then use the Favor to Incite Nero, forcing the bull closer to Gary. But Gary did the same, pushing the living hazard back to near its starting position.


Both sides continued to shuffle around. Micon, however, headed straight for Hermes, looking to through the smaller man towards the enraged bull.


But after multiple attempts, Micon seemed unable to find purchase on Hermes, who was taking advantage of the poor dice to cut chunks out of the giant's flesh.


I forced my Cohort into another clear turn, and once again used the Rouse/Incite combination to move Nero closer to Micon and Hermes. Meanwhile, Urbicus and Lupa engaged with Otho.


Finally, Micon got his hands on Hermes, pushing the gladiator back far enough to catch the bull's attention! Hermes was gravelly injured by Nero's goring.


In a sudden reversal, Septimus strolled up and speared Micon. A single push was all Nero needed to launch a second attack, which removed Micon from the table. Worryingly, Otho was managing to hold off the rest of my cohort by himself, as Hermes retreated behind one of the pillars.


Looking to add to his tally, Septimus moved over and attacked Marcus, who had already been injured by Otho. A single strike was enough to remove a second fight from my cohort of the table. With no ready fighters, I was forced into a clear turn, though I spent a point of Favor to Incite Nero closer to the action.


Seeing a chance, I had Lupa break off from Otho and bash Infelix aside, and again used Incite to move Nero right next to the wounded Hermes.


Of course, I managed to forget that I had to spend Favor to attack Hermes - and I had spent my last point to move the bull! So while Hermes sat nice a safe, Otho and Septimus finished off Urbicus.


Lupa, the lone surviving member of my cohort, managed to finally hit and remove Hermes from the fight. Infelix strolled over, taking advantage of Lupa's fatigued state to get a strike in.


In a risky move, I tried using a power attack to deal a fatal blow to Infelix. But even with the re-roll, the dice failed me. Finally, Septimus came over and, with his own power attack against the exhausted Lupa, struck her down. The roar of the crowd announced victory for Gary's cohort.

Had I sacrificed a chicken before the match, I may have realized that luck was not on my side! But while the battle on the sand was lost, the war may go in my favor, as Gary's expressed interest in buying of the miniatures.

Wednesday, March 8, 2017

Vavoom City Tarts vs. Baltimork Corviks, Playoff Game - Blood Bowl AAR

With the League over, the top six teams were placed in the playoffs, and the Corviks were a part of that group. The first game was a rematch against the Tarts. 


I won the roll and chose to kick in the first half.


The tarts moved the ball up the pitch, but the Orcs' frontline managed to keep the ladies mostly off their side.


Seeing that chances were slim to get past the Orc line, the Amazon Catcher tried to hand off the ball. But the Troll interfered, knocking the ball to the ground.


The Corviks ignored the ball and decided to focus on the bashing game.


Trevor's disdain for statistics carried him through most of the turn, where he was able to retrieve the ball and dodge out of the Troll's reach. But the ball carrier tripped on a go-for-it.


The Corviks retrieved the ball, putting the boot in for good effect.


The Amazons tried to reposition, but one Linewoman failed to dodge and went down hard, knocking herself out.


The Corviks caged up, ready to grind up the pitch.


The Tarts spent a turn re-positioning, trying to block the Orcs' advance.


Not having any of it, the Corviks push forward, knocking another Amazon off the pitch.


The ladies fought back, trying to make a gap to get at the ball carrier.


Trying to get fancy, the Corviks tried a hand-off, but failed. A Lineorc managed to scoop the ball of the ground.


After another failed attempt to get the ball, the Amazons were scattered.


At the last moment, the Corviks moved in to score. Not learning a lesson from their previous attempt, the throw failed, and the ball was dropped.


The teams took a break for half time, then set back up with the Tarts kicking. The Amazons were down three players due to the brutal first half.

The Corviks caged up and started walking the ball up the pitch.


The Amazons took the opportunity to knock the Orcs about.


But the Corviks rallied, pushing over the line of scrimmage into the Amazons' half of the pitch.


The beatings continued as the Amazons looked for a chance to reach the Orc Thrower.


The Corviks' cage ground forward.


After several turns, only a few Amazons are left on the pitch, and the Orcs were in a position to score. 


A brave Linewoman attempted to reach the ball carrier, only to be held back by his escorts. 


Betting that they could stall for a turn, the Orcs halted just before the endzone, with a pair of Black Orcs marking the downed Amazon.

In their turn, the Amazonian warrior leaped to her feet, dodged away from the Black Orcs, and blitzed the Thrower... only to knock the Orc back a square, into the endzone!

At that point, the Amazons took a knee, calling the game as a 1-0 win for the Corviks.